GitLab 是一个用于仓库管理系统的开源项目,使用Git作为代码管理工具,并在此基础上搭建起来的web服务。
一、GitLab安装
1、下载相应版本rpm包并安装
https://mirrors.tuna.tsinghua.edu.cn/gitlab-ce/yum/el7/
wget https://mirrors.tuna.tsinghua.edu.cn/gitlab-ce/yum/el7/gitlab-ce-10.0.0-ce.0.el7.x86_64.rpm
yum -y install  gitlab-ce-10.0.0-ce.0.el7.x86_64.rpm
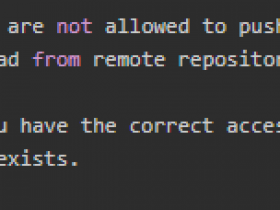
2、更改仓库地址及访问
# cd /etc/gitlab/
# egrep -v "^$|^#" gitlab.rb
external_url 'http://gitlab.xxxx.com'
git_data_dirs({ "default" => { "path" => "/xxx/gitlab/git-data", 'gitaly_address' => 'unix:/var/opt/gitlab/gitaly/gitaly.socket' } })
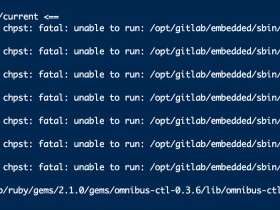
3、生效配置
#使配置生效
gitlab-ctl reconfigure
#启动GitLab
gitlab-ctl start
默认nginx端口是80,如果有占用,需要更改。
输入ip或者域名可以访问到git,第一次访问需要更改密码。
GitLab常用命令
sudo gitlab-ctl start # 启动所有 gitlab 组件;
sudo gitlab-ctl stop # 停止所有 gitlab 组件;
sudo gitlab-ctl restart # 重启所有 gitlab 组件;
sudo gitlab-ctl status # 查看服务状态;
sudo gitlab-ctl reconfigure # 启动服务;
sudo vim /etc/gitlab/gitlab.rb # 修改默认的配置文件;
gitlab-rake gitlab:check SANITIZE=true --trace # 检查gitlab;
sudo gitlab-ctl tail # 查看日志;
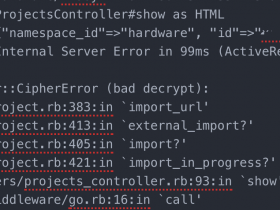
二、GitLab数据迁移
服务器A 向 服务器B 迁移整个gitlab 数据;
1、在服务器A上 查看gitlab版本
gitlab-rake gitlab:env:info
2、在服务器B上 安装相应版本 gitlab
3、在服务器A上 备份gtilab数据
gitlab-rake gitlab:backup:create备份后的文件一般是位于 /var/opt/gitlab/backups 下;
4、把备份得文件传输到 服务器B (在服务器B上 操作)
scp username@src_ip:/var/opt/gitlab/backups/123456789_gitlab_backup.tar /var/opt/gitlab/backupsusername为服务器A的用户名,src_ip 为服务器A得ip
5、在服务器B上恢复数据
# 停止相关数据连接服务
gitlab-ctl stop unicorn
gitlab-ctl stop sidekiq
#开始备份
gitlab-rake gitlab:backup:restore  BACKUP=123456789
#之后两个询问,都输入  yes ---> yes
# 启动gitlab
gitlab-ctl start